
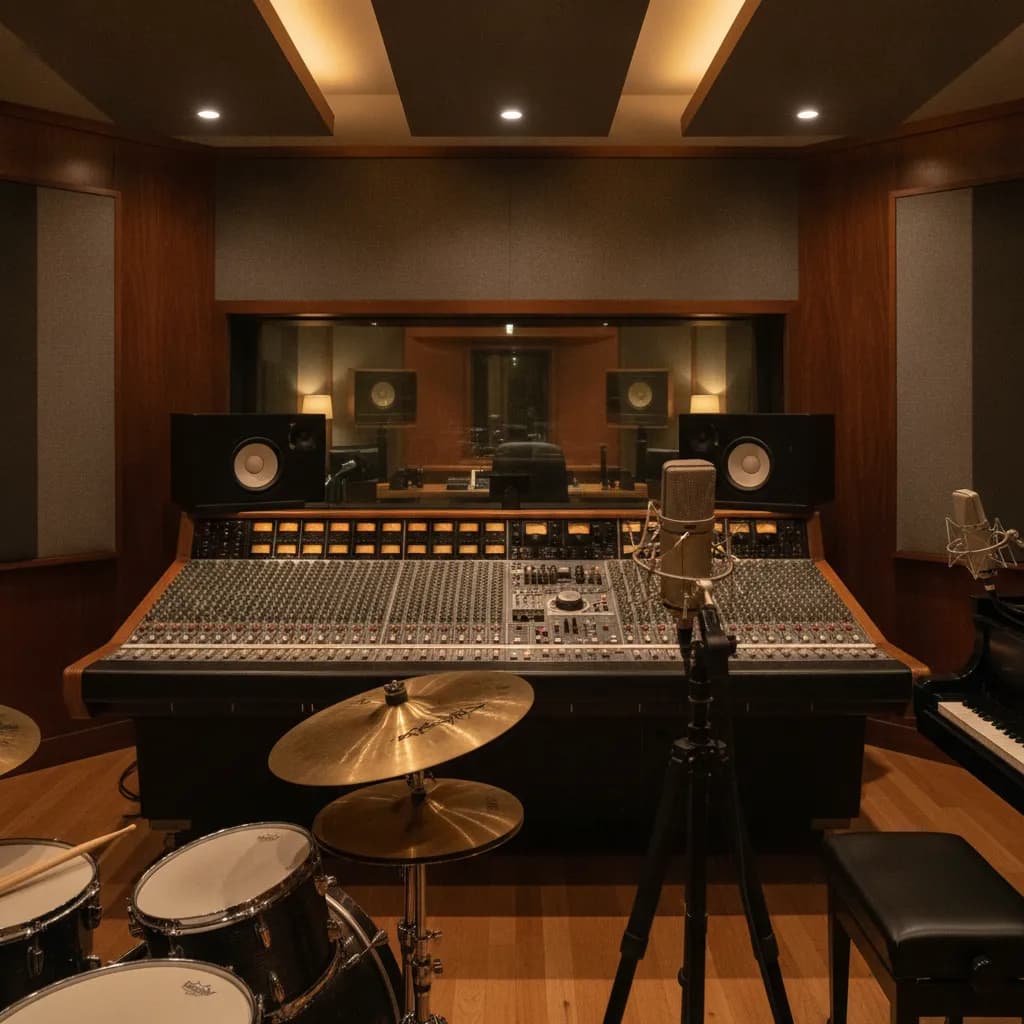
A vocal chain is the complete, ordered signal path a vocal travels through from the moment it leaves a singer's mouth to the moment it lands on a recorded track: microphone → preamp → (optional outboard processing) → analog-to-digital converter → DAW. Every stage either amplifies, shapes, or commits the signal in some way, and the order is not interchangeable — what happens early compounds through everything downstream. A home setup can run this chain through a single audio interface; a professional room splits it across dedicated outboard pieces, each chosen for a specific sonic reason.
The five stages, one by one
1. Microphone
The mic converts acoustic energy into a tiny electrical voltage. Microphone choice directly influences the tonal character of the vocal; condenser mics are popular for their sensitivity and wide frequency response and are the standard in studio settings. Large-diaphragm tube condensers add warmth and body; small-diaphragm condensers are more neutral; dynamic mics reject more room noise and handle high SPL without flinching. Neither is universally "correct" — the room, the voice, and the genre all vote.
2. Preamp
Noise introduced at the preamp stage compounds through every stage that follows, which makes preamp quality one of the highest-leverage decisions in your chain. The preamp's job is to boost the mic-level signal (typically –50 to –60 dBu) up to line level without adding hiss or distortion. Its purpose is to boost the microphone signal to a usable level; a clean, transparent preamp is crucial to avoid introducing unwanted noise or distortion, though some engineers prefer tube preamps for added warmth or solid-state preamps for clarity.
3. Outboard compressor (optional but common)
A compressor reduces the volume of the loudest peaks and lets quieter passages breathe, evening out the dynamic range of a performance before it ever reaches the converter. Using multiple compressors in series is a great way to attain both invisible dynamics control as well as a character-filled sound — without squeezing your signal too much. When compression is applied during tracking (rather than only in the mix), it is called tracking compression or printing compression, and it is committed to the recorded file — you cannot undo it later. That is why the standard advice is to compress gently at this stage: aim for 2–4 dB of gain reduction on peaks rather than heavy limiting.
4. Analog-to-digital converter (ADC)
The ADC inside your audio interface converts the analog electrical signal into digital data your computer can process. Sample rate (44.1 kHz or 48 kHz for most productions) and bit depth (24-bit is standard) are set here, and a higher-quality converter preserves more of the original signal character. In a home setup the preamp and converter are usually the same box (the audio interface). In a professional studio they are often separate units, giving the engineer independent control over each stage.
5. DAW
Software like Pro Tools, Logic Pro, or Ableton Live receives the digital signal and records it to a track; this is where the signal path splits into multiple possibilities — you can record dry, monitor with effects, or route to multiple destinations simultaneously. Any processing added inside the DAW (EQ, compression, reverb) is non-destructive: you can bypass or delete it any time. This is the fundamental difference between mix-stage processing and tracking-stage processing.
Why tracking compression is gentle — and committed
When you compress analog audio before the converter, that compression is baked into the file. If you over-compress — say, 10–15 dB of gain reduction with a fast attack — you flatten the transients permanently and make the mix engineer's job harder. A good starting point for tracking compression is a 3:1 to 4:1 ratio, threshold set until you're getting 2–4 dB of gain reduction on the peaks, with a medium attack (10–30 ms) and medium-fast release (40–80 ms). That catches the loudest moments without killing the life of the performance. For engineers with less professional experience, it generally makes sense to limit yourself to the basic chain of microphone, preamp, and converter first — concentrate on the session and the performance, which will save long setup times and protect you from messed-up recordings if a compressor was set unfavorably.
A real-world example: Paradise Recording's Rainforest Room chain
Here is how the chain looks in practice in our Rainforest Room, our dedicated vocal and podcast suite:
| Stage | Unit | What it contributes |
|---|---|---|
| Microphone | Manley Reference Cardioid | All-tube large-diaphragm condenser; all-tube circuitry with 150 dB maximum SPL capability; U47-inspired warmth |
| Preamp | API 512c | World-famous for its ability to provide a low noise (–129 EIN) front end for all types of audio applications; discrete Class A, punchy transient response |
| Compressor | Tube-Tech CL 1B | Optical, all-tube compressor targeted at single-track studio recordings; equally suited for delicate vocal recordings as well as critical instrument recordings |
| Converter | Studio-grade ADC | 24-bit / 96 kHz; transparent conversion into Pro Tools |
| DAW | Pro Tools | Industry-standard session format; stems delivered in any format you need |
The Manley's fixed cardioid capsule is designed to capture sound from a single direction, and this design choice allows the manufacturer to optimize acoustic performance for that specific pattern, resulting in a superior signal-to-noise ratio and more consistent frequency response than a switchable multi-pattern mic.
The API 512c remains faithful to the circuit designs of API's founder Saul Walker, giving the preamp stage that fast, punchy character that sits well under a tube mic without muddying the low-mids.
The Tube-Tech CL 1B delivers very musical and smooth compression, preserving the clarity of the source even at extreme settings — which is exactly what you want from a tracking compressor: control without the squeeze.
Does your chain need to be this elaborate?
Honestly, no — not always. A properly gain-staged home chain produces professional recordings; tracks cut on a basic interface setup have been placed on major-label releases. The case for a dedicated outboard chain is: (1) the analog character of each piece is printed to the file, saving mix time; (2) a great preamp and mic combination captures more of the performance's natural dynamics; and (3) a well-chosen tracking compressor means the mix engineer gets a controlled, consistent vocal rather than a wildly dynamic one. If you are cutting a quick demo or podcast episode, a quality interface and a good condenser is genuinely sufficient. If you are cutting a single you plan to release, the chain matters more — and so does the room it lives in.
For a broader look at what to expect when you walk in, see our guides on how to prepare for your first recording session and where to record vocals in Los Angeles.
How Paradise's rates compare to typical LA market ranges
Recording a song at a Los Angeles recording studio in 2026 can cost anywhere from $50 to over $300 per hour. Here is where Paradise sits within that range:
| Session length | Paradise (whole studio, engineer included) | Typical LA boutique range* | Typical LA premium range* |
|---|---|---|---|
| 2 hours | $160 | $100–$200 | $200–$400 |
| 4 hours | $300 | $180–$360 | $360–$700 |
| 6 hours | $450 | $270–$540 | $540–$1,050 |
| 8 hours | $600 | $360–$720 | $720–$1,400 |
| 12 hours | $850 | $540–$1,080 | $1,080–$2,100 |
*Typical LA ranges are estimates based on publicly available market data and are not quotes from any specific studio. Engineer included at Paradise (every rate); some LA studios charge separately.
Every Paradise session includes an in-house engineer — no add-on fee. Book a session or explore mixing and mastering if you already have a recorded vocal and need it finished.
Frequently asked questions
What is the difference between a vocal chain and a signal chain?
A signal chain describes the complete audio path for any source — drums, guitar, bass, voice. A vocal chain is simply a signal chain optimized for the specific dynamics, frequency content, and sensitivity requirements of a human voice. The stages are the same; the gear choices and settings differ.
Can I build a vocal chain entirely in software?
Yes. Plugins placed directly on a track as inserts process the signal in series; an EQ followed by a compressor on a vocal track is the most common example. A fully in-the-box (ITB) chain — interface preamp, then software EQ and compressor — is a legitimate approach and is how most home recordings are made. The trade-off is that you lose the analog character of outboard gear and the compression is applied non-destructively (which is also an advantage — you can change it later).
Does the order of the chain matter?
Yes, significantly. You want the compressor to react to a cleaned-up signal, not a muddy one; if you compress first, the compressor locks onto mud and rumble, giving uneven gain reduction. The standard tracking order is: mic → preamp → (optional high-pass filter or EQ) → compressor → converter → DAW.
What does "printing compression" mean?
Printing compression means applying compression in the analog domain before the signal reaches the converter, so the gain reduction is recorded into the audio file permanently. It is called "printing" because it is written into the file just like ink on paper — you cannot remove it later. This is why engineers keep tracking compression gentle (2–4 dB GR) and save heavier processing for the mix stage, where it remains adjustable.
Is a tube mic always the right choice for vocals?
Not always. Tube mics add warmth and a certain density that flatters many voices, particularly in pop, R&B, and singer-songwriter contexts. Voices that are already very dark or that need clinical transparency for voiceover work sometimes respond better to a solid-state condenser or even a dynamic mic. The best answer comes from a quick shootout in the room — something your in-house engineer can run at the start of any vocal session in the Rainforest Room.
Do I need outboard gear to get a professional vocal recording?
Not necessarily. The room acoustics, the performance, and the gain staging matter more than any single piece of gear. That said, a well-chosen outboard chain — like the Manley → API → Tube-Tech CL 1B path — does reduce mix time and adds a character that software emulations approximate but don't fully replicate. For most artists booking a studio session, the practical benefit is a vocal that arrives at the mix stage already controlled and tonally shaped.
Next steps
- Book a session — sessions from $160 for 2 hours, whole studio and engineer included
- Explore the Rainforest Room — full gear list and room specs
- See the whole studio — Rainforest Room (vocals/podcasts) and Rock Room (bands/full kit), both part of every booking
- Mixing and mastering services — if your vocal is already tracked and needs finishing
- Studio membership — monthly plans with 4, 8 or 16 studio hours for artists recording regularly
- How to prepare for your first recording session
- What microphone is best for recording vocals?
Facts and prices on this page last verified 2026-08-21 by the Paradise Recording team.