
Send your mixing engineer individual WAV files, 24-bit, at your session's original sample rate (44.1 kHz or 48 kHz), all consolidated from bar 1 of your project. Remove any limiter or maximizer from your master bus before you export, turn normalization off, and include a stereo rough mix plus a plain-text note with your BPM, key, and one or two reference tracks. Get those seven things right and your engineer can open the session and start mixing immediately — no back-and-forth required.
The core settings at a glance
Export each stem from the same start point (bar 1) through the end, as WAV or AIFF, 24-bit, at your project's sample rate. WAV remains the industry standard and is endorsed by the Audio Engineering Society.
Use 24-bit (or 32-bit float) at your project's original sample rate — 44.1 or 48 kHz. Don't upsample, and don't dither. Dither only happens on the final master.
Do not convert files to 16-bit simply because the final song may eventually be streamed or distributed. Mixing and mastering happen before final consumer delivery.
Stems vs. multitracks vs. stereo bounce — which do you send?
These three terms get mixed up constantly, and sending the wrong one is one of the most common revision triggers.
Stems are grouped audio files — all drums together or all background vocals together. Multitracks are every individual track exported separately. A stereo mix is one finished two-channel file.
Send multitracks for mixing sessions. When you send multitracks to your mixing engineer, they have maximum flexibility — they can adjust each instrument independently, apply effects, and shape the music precisely according to your vision.
Use multitracks for full mixing work where the engineer balances everything. Use stems when doing stem mastering or alternate versions. Use a stereo mix only when the mix is already approved.
If you genuinely only have a stereo bounce — a beat you bought, for example — send it anyway. A stereo mix is enough to start; for mastering it's all the engineer needs, and for a mix assessment it's plenty. Stems simply give more control: the engineer can rebalance the vocal, fix the low end, or replace a weak drum sound instead of working around it.
The complete delivery checklist
| Item | Required? | Why it matters |
|---|---|---|
| WAV files, 24-bit | ✅ Yes | Lossless only. MP3 throws audio away permanently, and its artifacts show up once the engineer processes further. Never send stems as MP3. |
| Session sample rate (44.1 or 48 kHz) | ✅ Yes | If your session was recorded at 44.1 kHz, export at 44.1 kHz. If your session was recorded at 48 kHz, export at 48 kHz. |
| All files start at bar 1 | ✅ Yes | Every stem must start from the same bar — ideally bar 1 — regardless of when the audio actually begins playing. If your bass line doesn't come in until bar 17, the bass stem should contain 16 bars of silence followed by the bass. |
| Master-bus limiter/maximizer removed | ✅ Yes | Take the limiter, maximizer, or clipper off the master before you export. Group EQ and compression that are your sound can stay — it's the master-bus loudness processing that has to come off. |
| Normalization off | ✅ Yes | Normalization changes file level. For mix stems, that can create confusion because it may alter the relative balance between parts. If the lead vocal, doubles, ad-libs, drums, and effects are all normalized independently, the engineer receives a distorted picture of how the rough mix was balanced. |
| Clear file naming | ✅ Yes | Label your stems clearly. Something like Drums_Kick, Drums_Snare, Bass_DI, Vocals_Lead, Synth_Pad makes it easy for the engineer to know what's what. |
| Stereo rough mix (WAV or MP3) | ✅ Yes | Before you place a mixing service order, send clean audio files, a rough mix, one or two reference tracks, written notes, lyrics when possible, and a clear explanation of what should stay from the demo. |
| Tempo map / BPM note | ✅ Strongly recommended | The last thing to include in each song's folder is a tempo map. This is essential for a number of processes in mixing but mainly for time-dependent effects such as delay, which rely on the tempo/BPM of the song. |
| Reference track | Recommended | If there's a commercially released song whose sound you admire and want to emulate, providing a link or file can be a great reference point. Be clear about what aspects you like — loudness, tonal balance, clarity. |
| Dry + wet versions of creative FX | Optional | Keep effects that create the actual sound, or send both a dry and an effected version when you are unsure. |
Dry vs. wet: the nuanced call
Keep the essential effects that give your tracks their character but ditch the ones that are better left for the mixing stage. This keeps your stems clean and gives the mixing engineer more flexibility to work with.
The practical rule: if removing the effect changes what the instrument is (amp sim, vocoders, lo-fi vinyl crackle), keep it printed. If the effect is just adding space or polish (reverb sends, bus compression), strip it — your engineer will build that themselves. When in doubt, export both and label them _dry and _wet.
File naming that engineers actually appreciate
Name your root folder with your song title plus BPM — for example: MySong_124BPM. Export each track as a full-length stem, starting at bar 1, so everything lines up perfectly. Use clear, descriptive names like Snare_Top, Kick, Lead_Vox.
A clean folder structure: 01_Multitracks / 02_Stems / 03_RoughMix / 04_TempoKeyNotes — with a simple text file containing tempo, key, reference tracks, and notes.
Zip the whole folder before uploading. This will drastically reduce the size of your stems folder and help to speed up the handoff.
What about headroom?
Disable any limiters or loudness plug-ins before sending your mix off. Some engineers suggest that mixes should have −3 dB of headroom, while others insist −6 dB is better. Either is fine — the key is that your peaks aren't sitting at 0 dBFS and the engineer has room to process without clipping.
24-bit is the working standard, providing about 144 dB of dynamic range. You can record at conservative levels, leave plenty of headroom, and never worry about losing detail in the quiet parts. Don't try to compensate for low levels by normalizing — a quiet 24-bit file is still a pristine 24-bit file.
Does any of this apply if I recorded at Paradise?
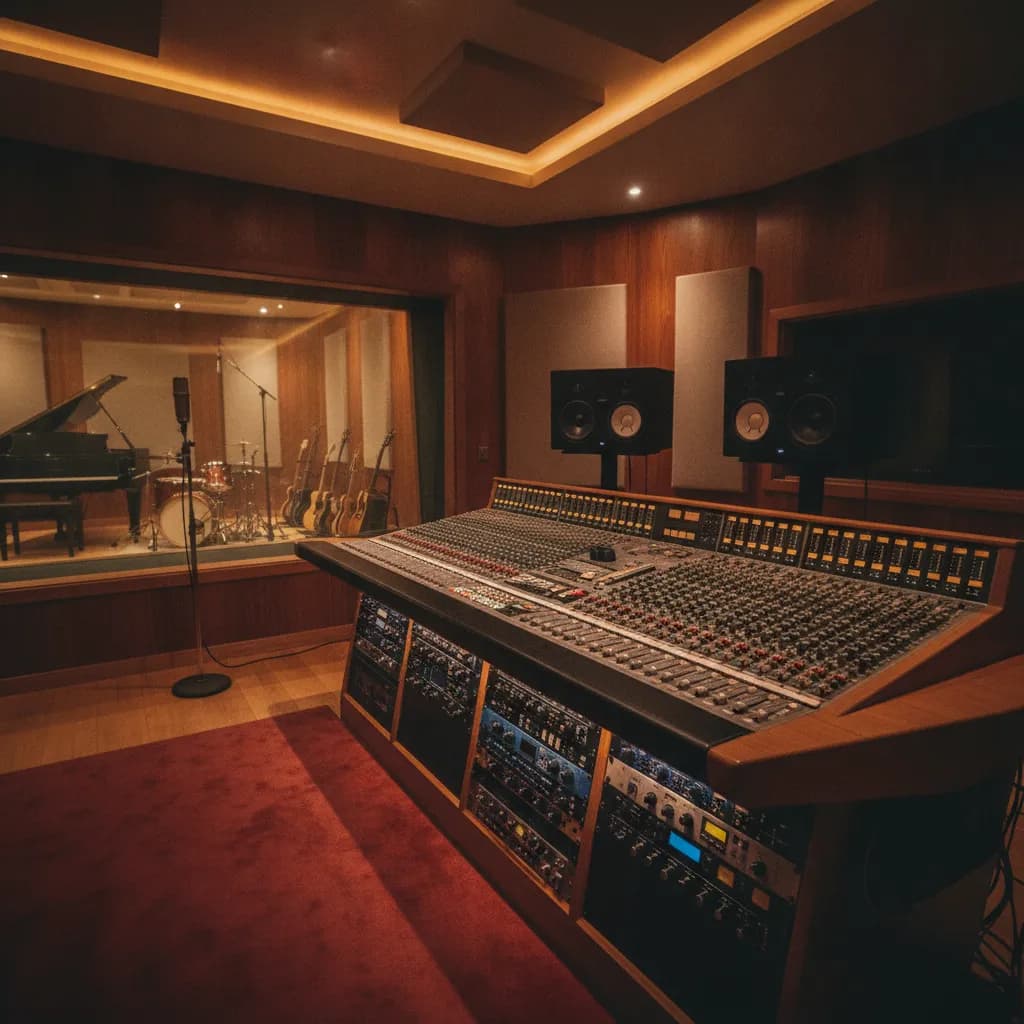
Yes — and the process is smoother when you track in a professional room to begin with. Our in-house engineer exports your session at the correct specs before you leave, so you're not guessing at settings at home. The Rainforest Room is purpose-built for vocals and podcasts; the Rock Room handles full bands with a baby grand and a full drum kit. Both rooms include the engineer in the session rate. If you want us to handle mixing and mastering after your session, see /mix-master — we'll already have your files in the right format.
If you're still weighing whether to track at home or come in, the guide Home Studio vs Professional Recording Studio lays out the honest trade-offs. And if you're curious what mixing and mastering actually cost once your files are ready, How much does mixing and mastering cost? has current LA market ranges.
Frequently asked questions
Can I send AIFF instead of WAV?
Uncompressed and lossless WAV files are recommended for exporting stems. These files preserve audio quality without any data compression. While AIFF files are also PCM, they include additional metadata that increases file size. Either format works technically, but WAV is the universal default — use AIFF only if your engineer specifically requests it.
What if I recorded at 96 kHz — should I downsample before sending?
No. If you recorded and mixed at a 48 kHz sample rate with a 24-bit bit depth, export the stems as 48 kHz/24-bit PCM WAV files. Avoid downsampling — stick to the original sample rate to maintain fidelity. The same logic applies at 96 kHz: export at 96 kHz. Resampling introduces unnecessary conversion artifacts.
My song has tempo changes — do I still just include a BPM note?
In the folder for the song, include a document outlining a tempo map if it has tempo changes. You may also be able to export a MIDI file to include tempo markers and section markers if you used them in your session. Most DAWs let you export a MIDI file that carries the entire tempo map — that's the cleanest option.
Should I leave my vocal tuning and timing edits printed?
Yes, as long as they're approved. Final lead vocals should be chosen and exported from the same song start. Doubles, harmonies, and ad-libs should be labeled clearly. Dry vocals should be included when possible. Wet vocal references should be included only as references.
What if all I have is a stereo MP3 from a producer?
If you need to share a demo or rough mix, 320 kbps MP3 is fine for reference listening. Just keep the WAV somewhere safe. For the actual mix session, go back to the producer and ask for WAV stems — the whole point of hiring a professional mix engineer is to have everything available to create a great mix. Mixing a single stereo instrumental file is possible, but it's not really what a mix engineer needs to do their job.
How do I send large files — email won't work?
Most email providers cap attachments at 25 MB. A 5-minute WAV can easily hit 140 MB. Use FLAC for smaller lossless files, or upload to Google Drive or Dropbox. Most engineers will give you a specific upload link — ask before you send anything.
Next steps
- Book a session — track with our in-house engineer and leave with files already export-ready
- Mixing and mastering services — we mix and master from your stems or from our own session recordings
- Studios overview — compare the Rainforest Room and Rock Room
- How long does mixing and mastering take?
- What is the difference between mixing and mastering?
- Mixing and Mastering Services: What They Cost in 2026
Facts and prices on this page last verified 2026-08-16 by the Paradise Recording team.