
Your mix should peak around −6 dBFS and land between −18 and −14 LUFS integrated, with no limiter or maximizer on the master bus. That range gives a mastering engineer enough clean headroom to apply EQ, compression, and a final limiter without fighting a mix that is already squashed. If your peaks are creeping above −3 dBFS or your integrated LUFS is louder than −14, something is probably limiting the signal — and that is the one thing mastering cannot undo.
Why headroom is the only number that really matters
When you send your mix for mastering, you should leave around 3–6 dB of headroom — meaning keep the level on the master channel at about −6 dBFS and do not put a limiter or maximizer on the master bus.
The reason is simple: if your mix is limited heavily and then turned down to peak at −6 dBFS, it may appear to have headroom, but the dynamics are already reduced. Real headroom comes from a clean, dynamic mix.
A dynamic pop or rock mix through an analog console will probably measure about −18 LUFS, so old-school analog mastering engineers are used to something around this level. In-the-box mixes can be much louder — often averaging as loud as −9 LUFS before mastering. Both are workable. The key is that the mix is clean, not that it hits a magic number.
The limiter question — answered plainly
If you mixed with a peak limiter or loudness maximizer on the master bus, send two files: one with the limiter engaged, as you heard it in the session; one with the limiter bypassed, at whatever level that produces.
What matters is that the limiter is not in the signal path, so the mastering engineer has access to the full dynamic range of the mix. If you used a limiter purely as a safety clip-guard and the mix still sounds open and dynamic with it bypassed, the unlimited version is the one to send. If the limiter is part of the creative sound — a slammed drum bus, a deliberately crushed vocal — send both and let the mastering engineer decide.
The streaming normalization piece
Once your track is mastered, streaming platforms adjust playback loudness automatically. Music and video streaming services cluster around −14 LUFS (Spotify, YouTube, TIDAL, Amazon Music, SoundCloud) or a slightly quieter −16 LUFS (Apple Music).
The platform enforces the target at playback, not by rewriting your file. When you upload a song, the platform measures its integrated loudness and stores it. At play time it applies a single, uniform gain change to push that item toward the target. If your master measures −9 LUFS and the target is −14 LUFS, the platform plays it 5 dB quieter — your file on disk is untouched; only the playback level moves.
The practical takeaway: a master made artificially loud is simply turned down to match, and all you are left with is the crushed dynamics. The modern advice is to mix for dynamics and a sane target rather than for maximum loudness — the platform decides playback level, not your limiter.
This is why the mix stage matters so much. A mix that arrives at mastering with real dynamic range will translate far better after normalization than one that was already squashed before the mastering engineer touched it.
Stage-by-stage level targets
| Stage | Peak target | Integrated LUFS target | Limiter on? |
|---|---|---|---|
| Individual tracks / buses | −12 to −6 dBFS | — | No |
| Mix bus (pre-master export) | −6 to −3 dBFS | −18 to −14 LUFS | No |
| Mastered file (streaming delivery) | −1 dBTP max | −14 to −10 LUFS (genre-dependent) | Yes (mastering limiter only) |
| Spotify / YouTube / TIDAL playback | — | −14 LUFS (normalized) | — |
| Apple Music playback (Sound Check) | — | −16 LUFS (normalized) | — |
Peak targets are sample-peak dBFS at the mix stage; true-peak dBTP at the mastering/delivery stage. Streaming LUFS figures are approximate platform normalization targets, not production mandates.
What "no limiter" actually means in practice
Avoid using a limiter only to make the mix louder before mastering. If the limiter is part of your creative sound, you can send both a limited reference and a clean version without the limiter.
Many engineers use a reference limiter during mixing purely to check how the mix will feel when loud — a useful monitoring trick. Put mastering compression on the master bus and bring the master loudness to −8 LUFS, −14 LUFS, or any loudness you are targeting depending on genre and streaming platform requirements. This monitoring processing will not go into your final mix — use it for information only. Bypass it before you export.
Export format
Always export a high-resolution WAV or AIFF file for mastering. MP3 is a delivery format, not a mastering format. 24-bit / 44.1 kHz minimum; 24-bit / 48 kHz or higher if your session runs at that sample rate. If your DAW supports 32-bit float export and you are sending to a mastering engineer who accepts it, that format preserves any headroom information above 0 dBFS that a 24-bit file would clip and discard.
True peak at the mastering stage
Once mastering is done, true-peak limits matter for streaming codec safety. Keep your master below −1 dB TP (True Peak) max. This is crucial for lossy formats like Ogg Vorbis and AAC — leaving at least 1 dB of headroom ensures that when Spotify transcodes your track to its streaming format, you won't get clipping or distortion due to inter-sample peaks.
If you master hotter (louder than −14 LUFS), Spotify advises even more headroom: keep it below −2 dB TP.
When a home mix is genuinely fine
If you are recording demos, podcasts, or scratch tracks — and you are not sending the file to a separate mastering engineer — a clean mix peaking at −3 dBFS with a transparent limiter holding the ceiling is perfectly usable. The strict "no limiter, −6 dBFS" advice is specifically for files going into a professional mastering chain. For self-released content you are mastering yourself, the streaming normalization targets in the table above are your guide.
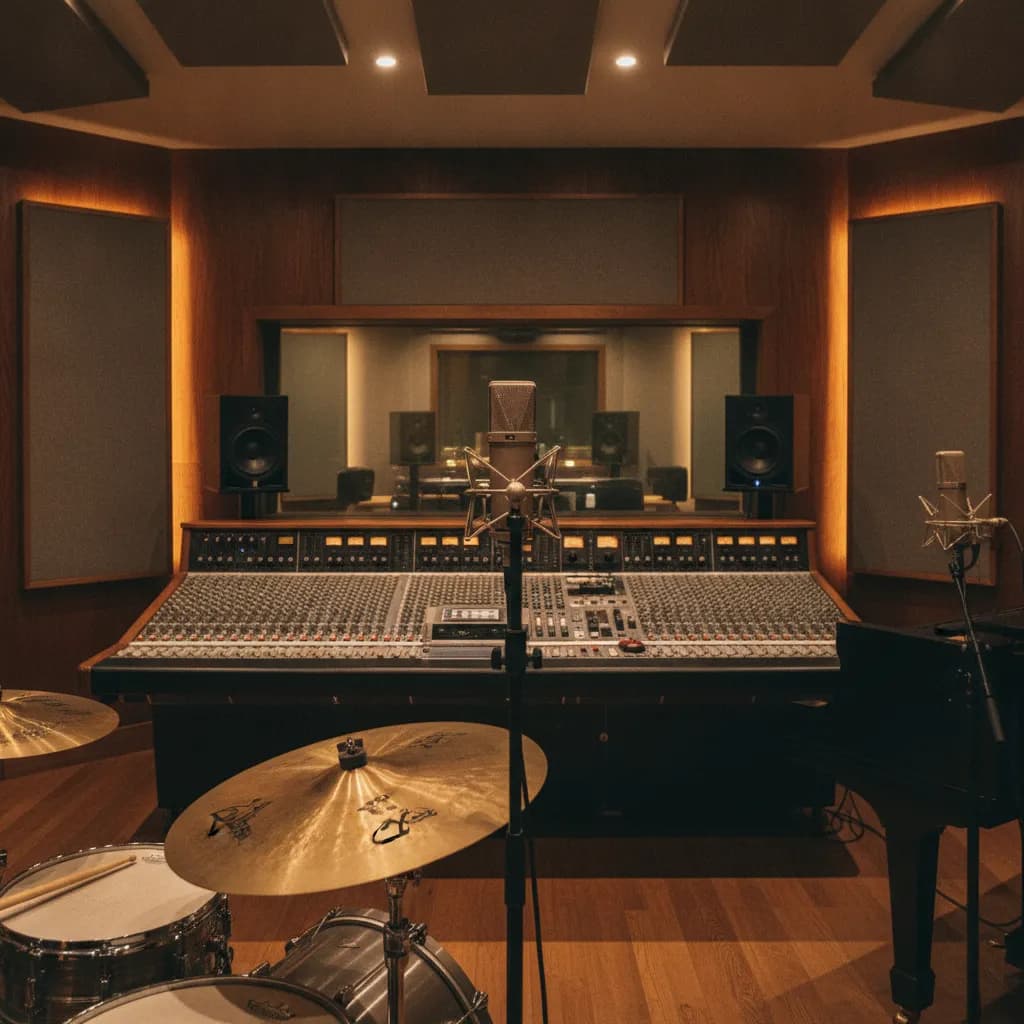
If you want a professional ear on your mix before it goes anywhere, our mixing and mastering services are available as a standalone service — no session booking required. Artists who record in our Rainforest Room (vocals, voice-over, podcasts) or Rock Room (full band, live kit, baby grand) often add a mix pass the same week while the session is fresh. See our guide to mixing and mastering costs and how long mixing and mastering takes for realistic timelines and budgets.
Frequently asked questions
What if my mix peaks higher than −6 dBFS but nothing is clipping?
A clean file peaking at −2.5 dBFS may be fine if it is not clipped or limited. A file peaking at −6 dBFS may be bad if it was clipped earlier and then turned down. The number is a guideline, not a hard rule. If your mix is genuinely open and dynamic with peaks occasionally touching −2 or −3 dBFS, most mastering engineers can work with it. When in doubt, ask before you send.
Should I hit exactly −14 LUFS on my mix before mastering?
No. −14 LUFS is a playback reference, not a production target. Mastering exactly to −14 LUFS can leave a track flat, and pushing to −8 LUFS does not make it louder for the listener — the platform simply turns it back down, minus the punch already lost to compression. Mix for dynamics; let the mastering engineer handle the final loudness.
Does Apple Music normalize differently from Spotify?
Yes. The Spotify LUFS reference sits at −14 integrated, Apple Music loudness targets −16 with Sound Check, and YouTube hovers near −14. A well-mastered file at −14 LUFS with −1 dBTP will work across all three — Apple will simply play it back 2 dB quieter than Spotify, which most listeners never notice.
What meter should I use to check my mix level?
LUFS tells you perceived loudness. Peak and true peak meters tell you how close you are to clipping. Use both. Free options include Youlean Loudness Meter (standalone and plugin) and SPAN by Voxengo. Check integrated LUFS on a full playthrough of the song, not just a section.
Do I need to worry about this if I'm mastering myself?
Only partially. As long as your mix does not clip or overload any plug-ins, it does not really matter how loud the track is — if a mastering engineer needs more headroom to apply signal processing, all they have to do is lower the clip gain. When you are your own mastering engineer, the same logic applies: start from a clean, unclipped mix and you have full flexibility.
Can I record and mix at Paradise Recording and then send the file for mastering?
Yes. Every session at Paradise — the whole studio, Rainforest Room and Rock Room included, starting at $160 for two hours — includes an in-house engineer who can set gain staging correctly from the first take. Our mix-master service is available as a follow-on, or you can export your session files and send them anywhere. Book a session to get started.
Next steps
- Book a session
- Mixing and mastering services
- Rainforest Room — vocals, voice-over, podcasts
- Rock Room — full band, live kit, baby grand
- What is the difference between mixing and mastering?
- How long does mixing and mastering take?
- What file format should I send my mixing engineer?
- Mixing and mastering services cost guide (2026)
Facts and prices on this page last verified 2026-08-23 by the Paradise Recording team.